Customizing the Teams App Name and Icons
Last updated: April 1, 2026
You can customize the Orchestry app's name and icon to be more familiar to your end users. This can be especially useful if you're transitioning from a different provisioning tool or process.
Configuring the Teams App
Navigate to Settings > Teams Application. A new section will appear on the right allowing you to customize your app.
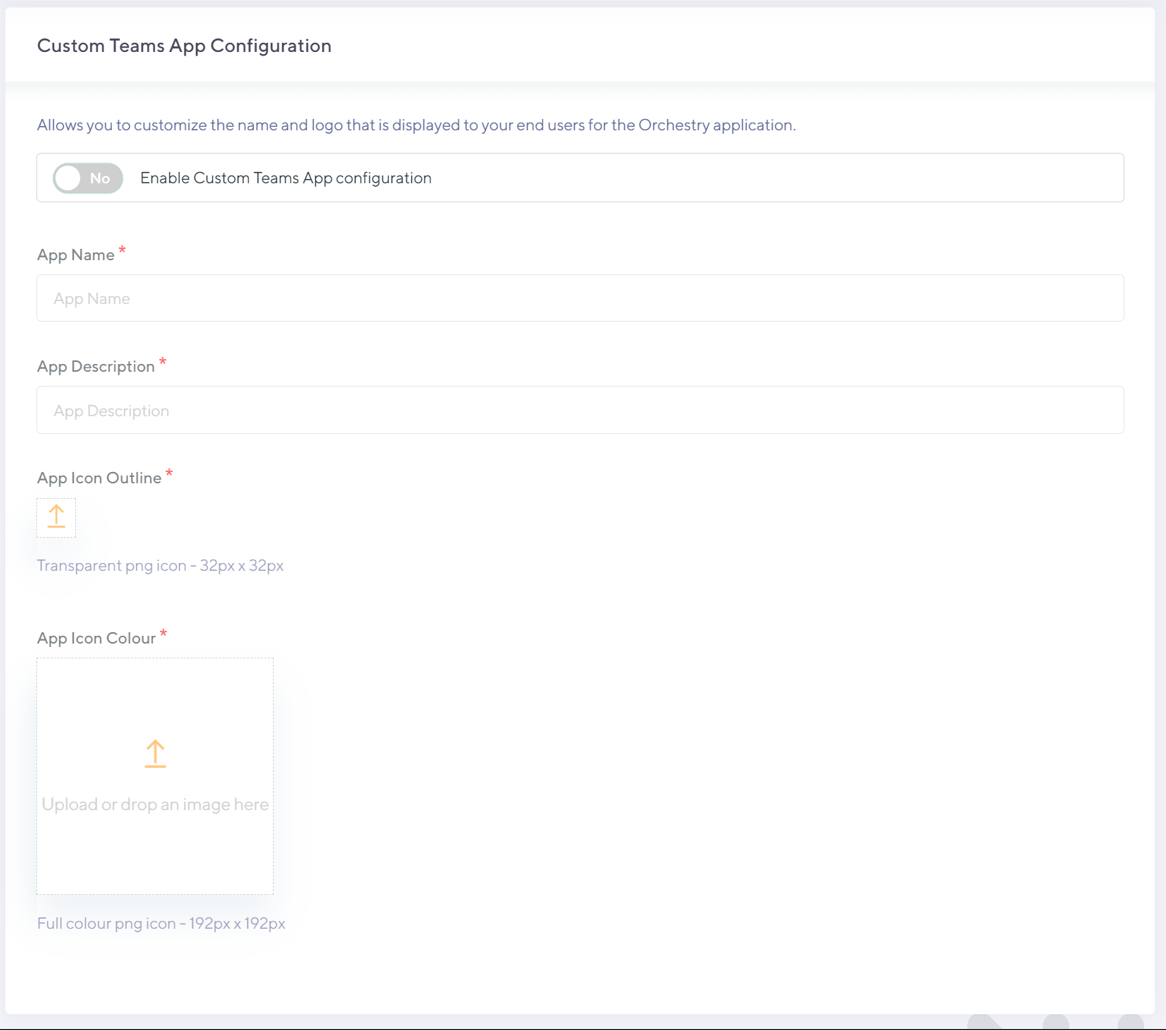
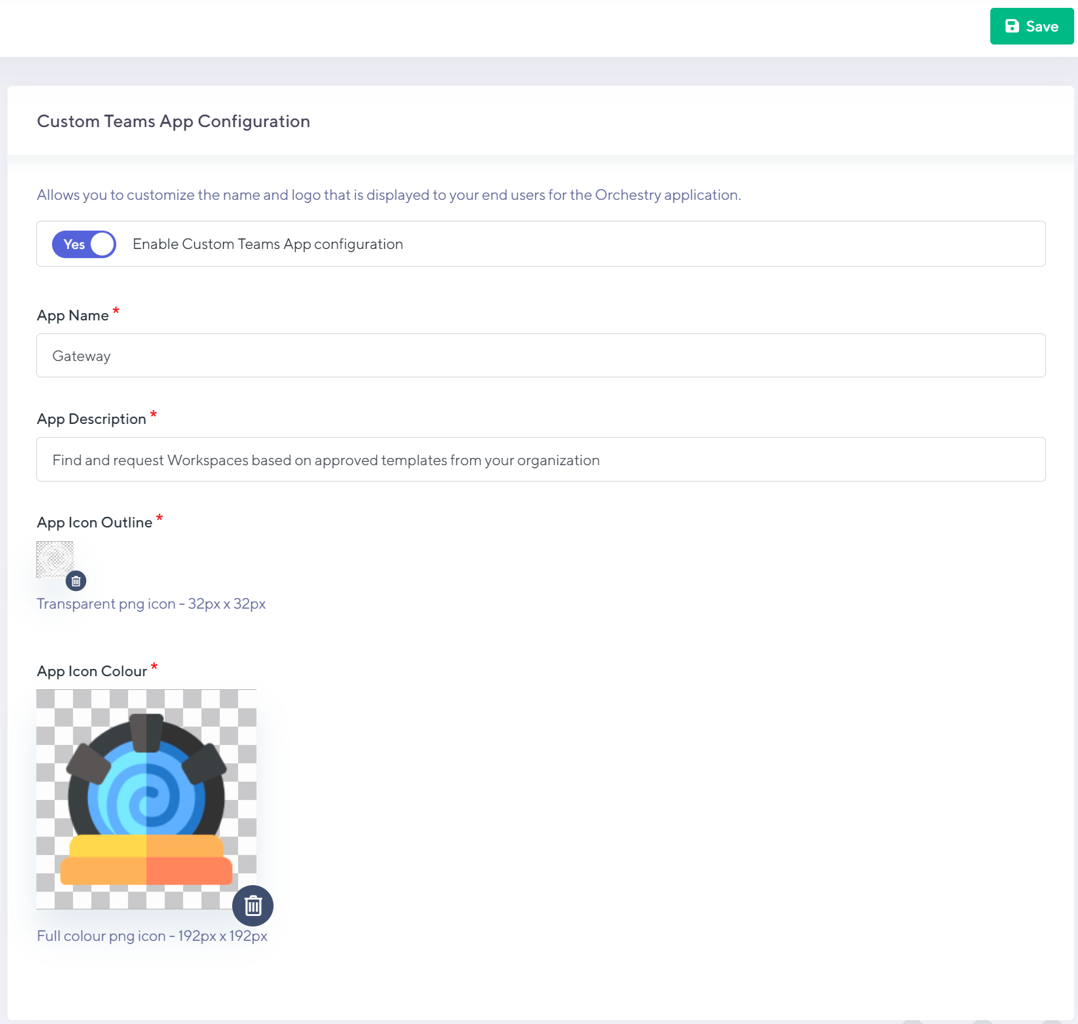
Enable the Custom Teams App feature

Add a new App name. The name must be fewer than 30 characters and should ideally be a single word to be visible on the users' Team App Bar.

Configure a new App Description. The description must be fewer than 80 words.

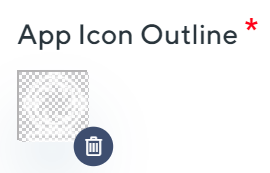
Populate an App Icon (Outline)
The image must be a PNG
The image must be 32px by 32px
The icon should be full bleed to the frame
The icon must be white (#FFFFFF)
The background must be transparent
Note: The app icon will automatically adjust from an inactive state (Dark Grey) to an active state (Teams Purple) when clicked by the user.

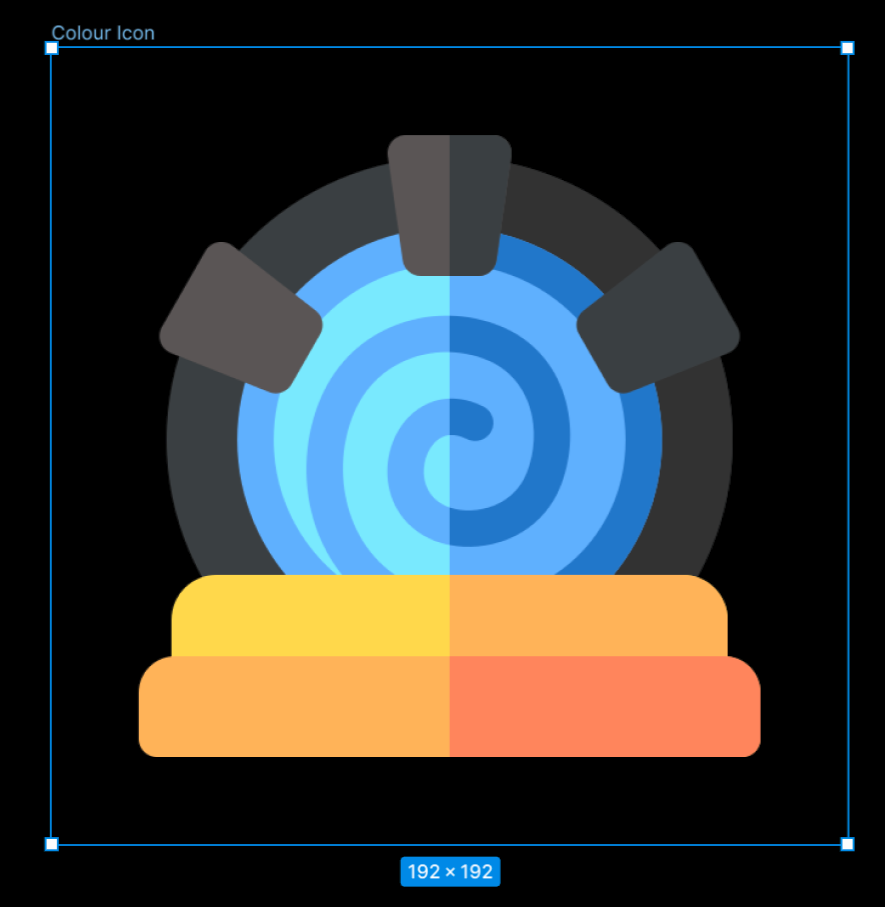
Populate an App Icon (Colour)
The image must be a PNG
The image must be 192px by 192px
The icon should not be full bleed to the frame but allow a safe zone between the frame edge and the icon (see links below from Microsoft)
The icon can have a transparent background, or not
7. Save your changes
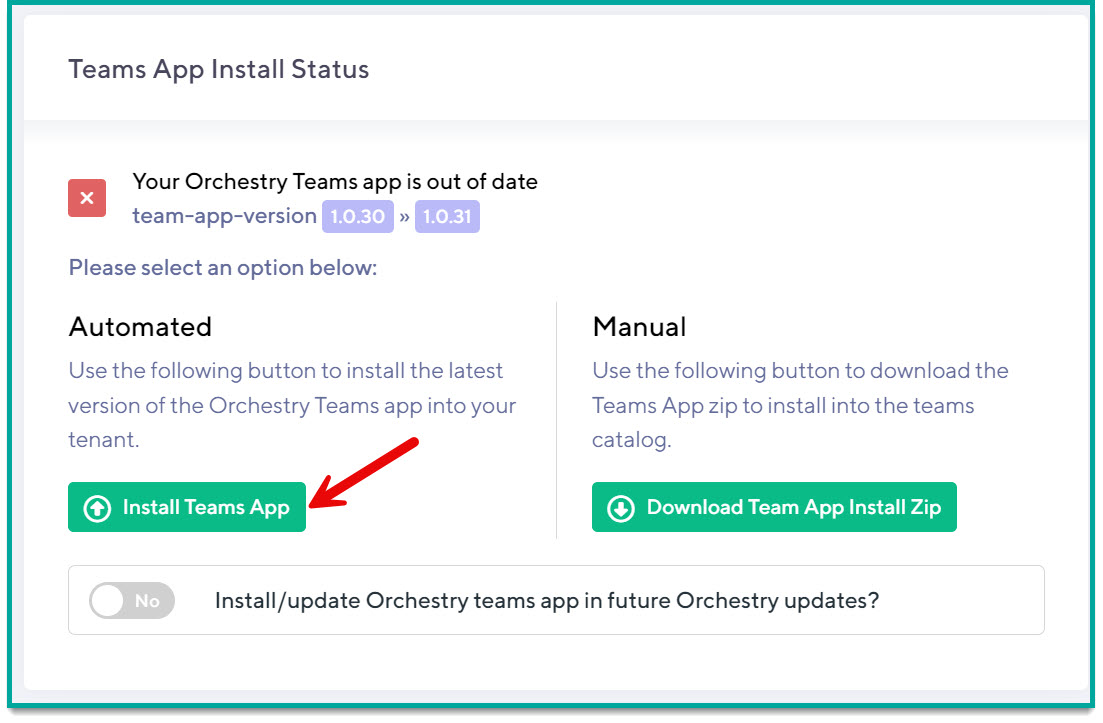
Re-deploy the Teams App with the new customizations. To do this, navigate to https://app.orchestry.com/settings/installation and in the Teams App Install Status, click Install Teams App.
Where/How Your Custom Teams App Will be Seen
Your changes will be visible within the Teams experience only but will include the following places:
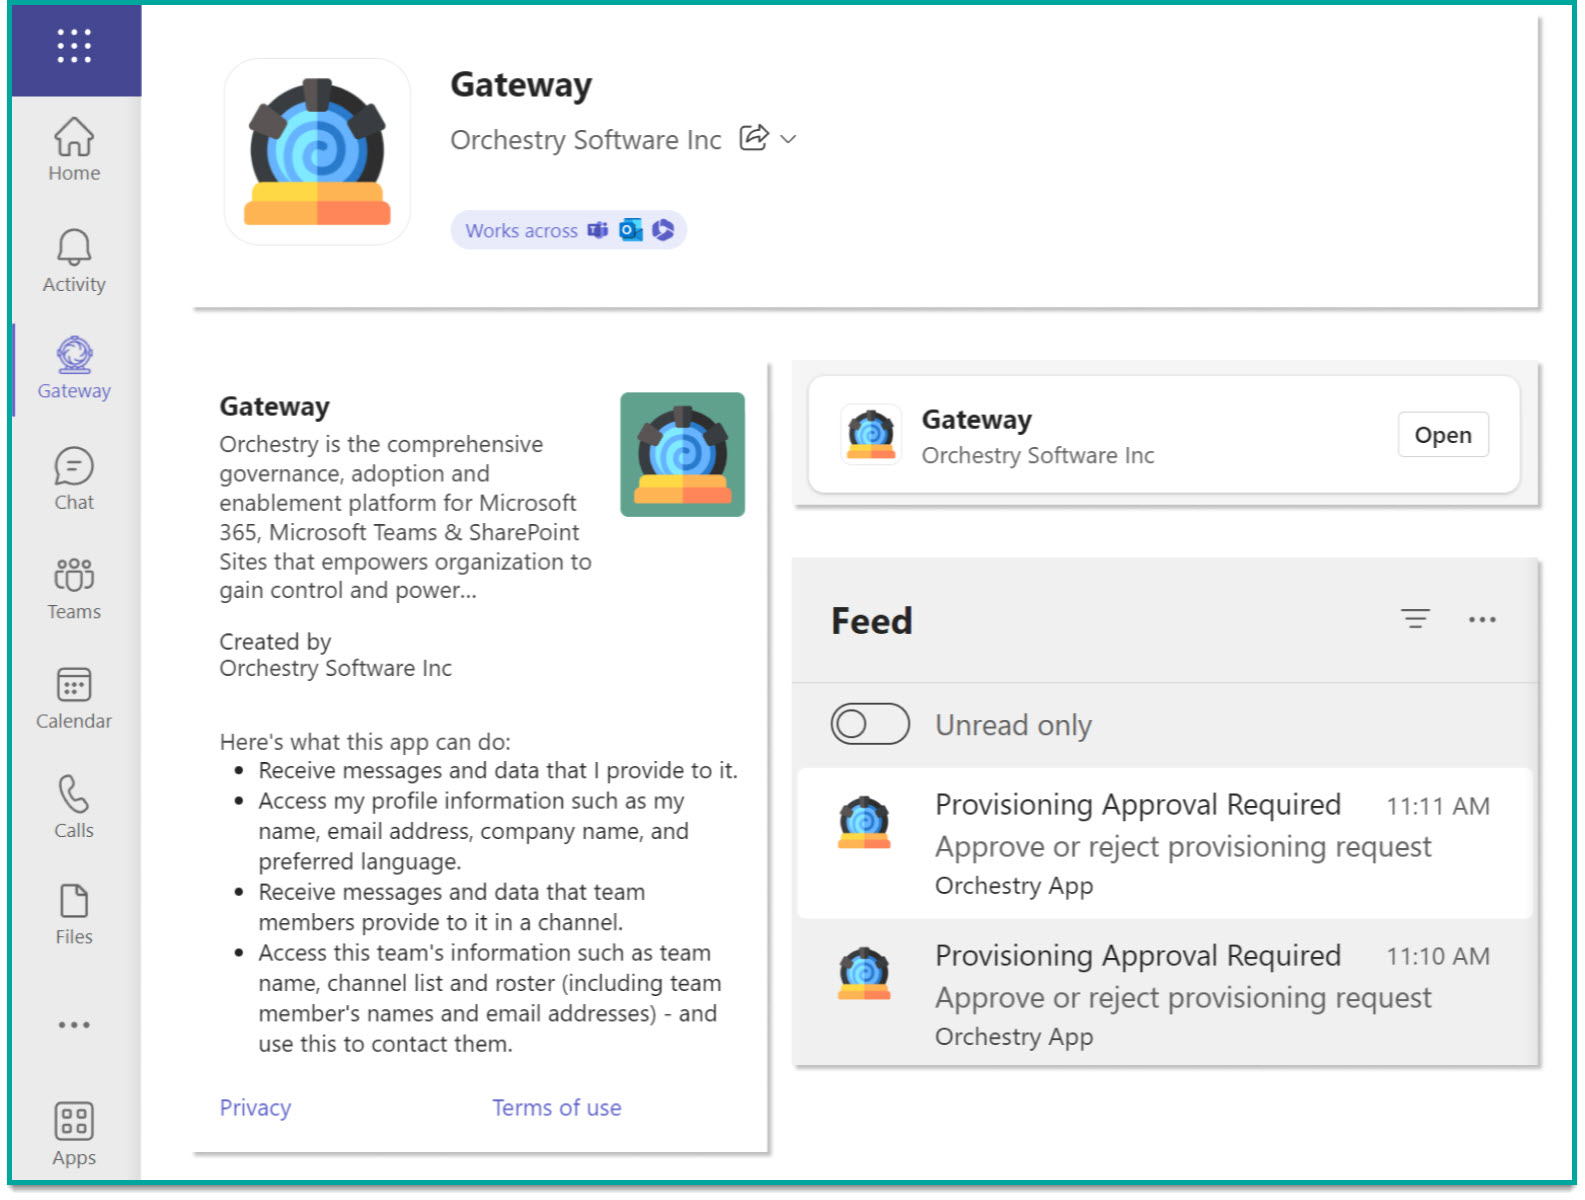
App Name and Colour Icon when seen in the App Store
App Name and Colour Icon when seen when adding new Tabs to a channel
App Name and Colour Icon when the app is hovered over in some locations
App Name and Colour Icon when the app "About" is clicked
App Name and Colour Icon when seen in Teams Notifications sent via Orchestry
App Name and Outline Icon when seen 'hoisted' on the App Bar